Mar 30, 2010

Nothing to Wine about...


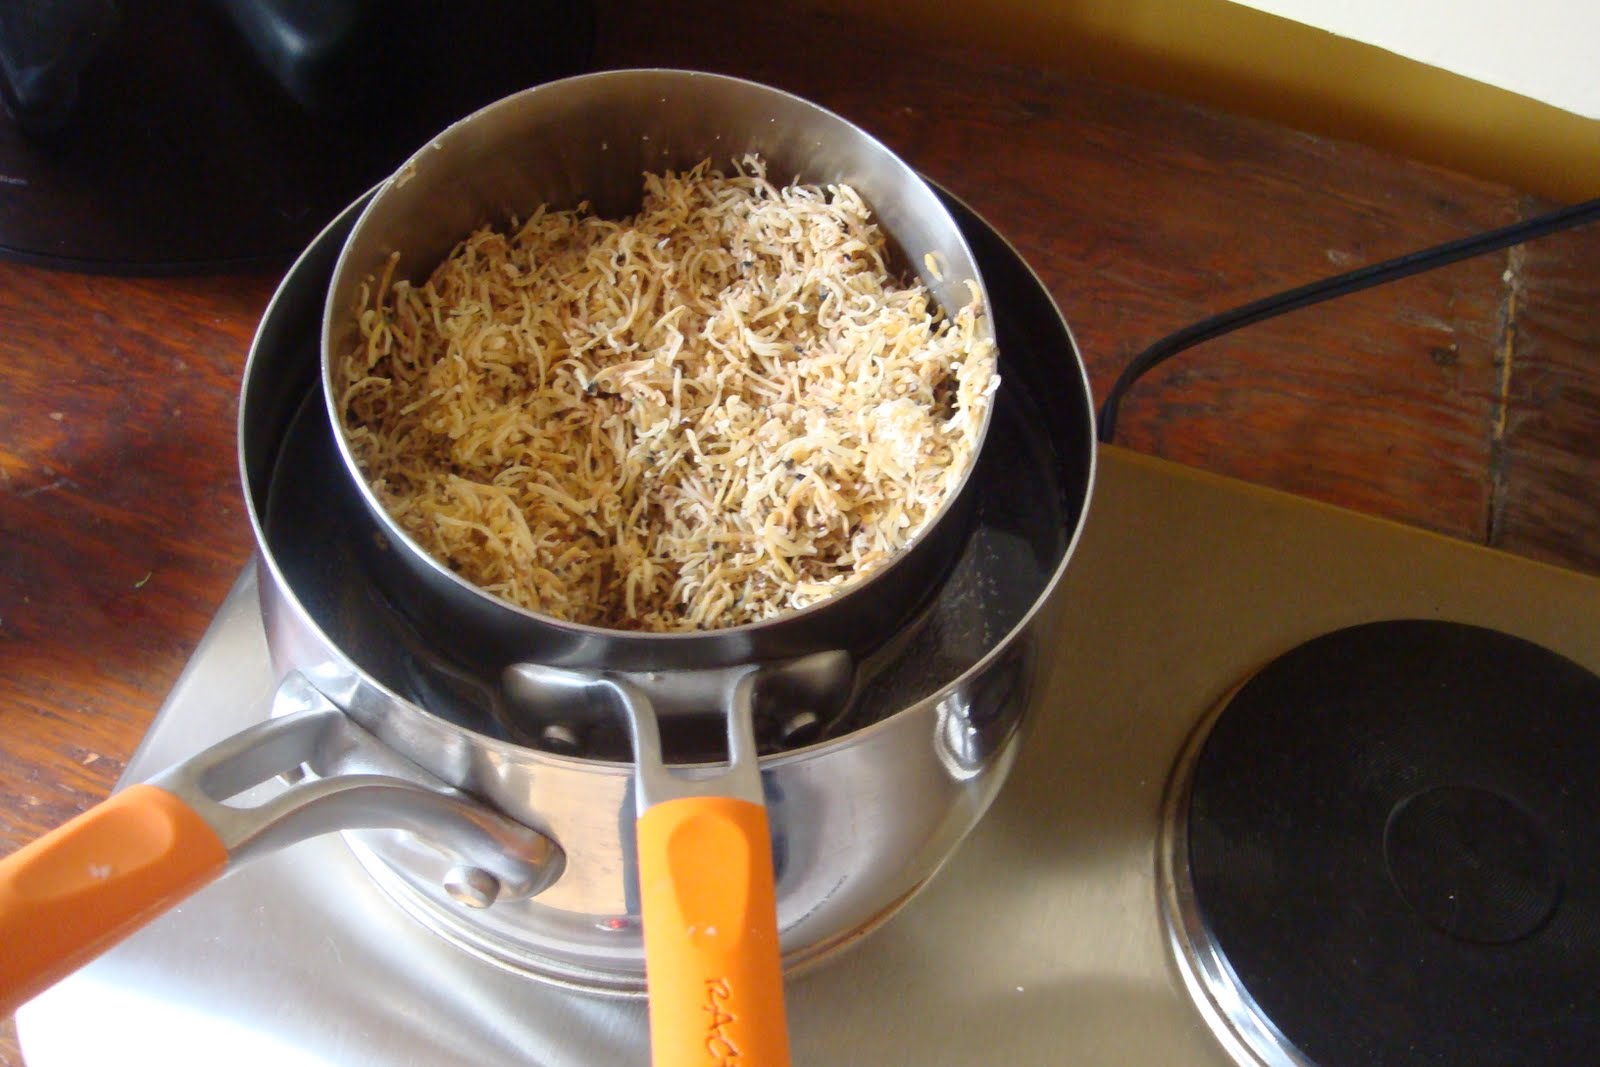
the melt-down worked great on the wine soap:) It's purple in spots and brown in others but at least it's an overall color like we wanted! The brown color came in because we left too much juice in the grapes when we dehydrated them so next batch will be perfect. Who knew grape juice was actually brown not purple. LOL:)

Wine Soap Melt-Down


So after a week of being gone on vacation we came home to find most of the soap cured fully and was much harder. The only problem soap was the wine soap with the grapes. I really want it to be somewhat purple ultimately but it's just got these oozy clumps in it right now. It looks cool but it's messy so I'm re-melting it to see if I can perfect it. I'm just using one of the molds for the first attempt... grating it and melting it and then re-pouring it in a mold like I did when I made the hand milled soap the first time from the castile soap bar I bought.

Mar 18, 2010

Wine Soap Status...


Wine soap looks good, but I think I'm going to have to get creative with the process to get a purple base color to go along with those small bursts of grapes. It's a work in progress but almost there.

BATCH#7 Espresso Buzz Trial#2


Ok so i think I got Espresso Buzz down and it has the most fluffy white lather of them all. Again I only made a half batch so I didn't end up wasting too much if my idea to brew coffee into the soap didn't work. We also used olive, canola and castor oil in this batch leaving out the coconut oil because I ran out... and because I wanted to see if the soap would still be a pale color without it. So far it looks good and I'm super happy with the way it looks. It doesn't have the smell of espresso but the espresso seems to have covered up the oil smell that is obvious in the base soaps I've made so far.

Possible Labels?


Really trying to make the labels more readable but still retain the color and "image" of the brand. Working left to right I think were making progress and the only real way we're going to be able to decide is if we have a lot of options to choose from printed on the actual stickers. The front ones are proving to be quite challenging but I think one of the lower right hand corner ones are looking the best.

The top left corner one is the back and I think thats pretty much how we want it to look so we're all set with that now it's just a patter of what color if any.

Mar 17, 2010

Cherry Soap Status...


Here she is... we need to add more cherry next time (about double) but it's looking good so far! The plain white bar is the base that was made the day prior as a tester it's the olive & coconut oil but no cherries.

No Green Soap 4 Us...


Were only seeing PURPLE today while working on the Wine-Oh soap. It's made with olive, coconut & castor oils. Plus dried grapes for a fabulous purple color... I hope!

Also, our molds are sticking to the soap too much so I'm trying a more flexible plastic mold that is also smaller today so I'm hoping that works too.
WISH US LUCK!!

Mar 16, 2010

Cherry Soap Saponifying


The olive & coconut oil in our base BATCH#4 worked great so I'm mixing up BATCH#5 the same way and this time were adding our dried & ground Door County cherries. According to what we've read you add any scents like essential oils or dried fruit & flowers at the end after the soap is done cooking. I'm assuming this is to preserve the smell and maybe even the color. So far our dried cherries are a nice bright red color and still smell like cherries so hopefully both those traits transfer over to the cured soap.

The book has a chamomile tea soap where they use dried & ground tea leaves about 1/4 to 1/2 cup it says. We've got a little under 1/4 cup dried cherries prepped so we'll see how that amount works and work up if needed.

Mar 15, 2010

Building the Soap Cutter


This is how far we are on the cutter. Now were attaching the wires and by tomorrow we'll have a base for the soap to rest. We got the idea to build it from a guy on You Tube don't know what we would have done otherwise because cutting the soap with a knife like I have been hasn't been the most accurate. As it turns out inch cuts are exactly 4oz. based on our 3 inch diameter molds. Good thing we're getting the help of Saki she is such a hard worker isn't she:)

Nice White Base...


Batch#4 is a little soft still so I'm moving it to the fridge but check it out... we got the nice white base we wanted!! This week will be all about using the cherry and grape powders they should make great colors.

Mar 13, 2010

Ready to Pour!


Poured the molds after 1 hour this time instead of almost 2 like the last 3 batches. Also this time we followed the directions in the book closer and didn't stir throughout the process, just at the end after the entire batch saponified. It melted from the outside in just like it said it would in the book creating an "island" in the center until it was completely done.

For the mols this time we're trying our luck at lining one with wax paper as suggested in the book. The other we're doing the same with just a little wipe down of olive oil. We haven't had much luck with it not sticking to the molds so hopefully the wax paper works. We should know by tomorrow and I'll update then.

Batch#4 saponifyin'


We're making a batch this afternoon with olive oil and coconut oil. We also crushed de-juiced and are now dehydrating the grape skins to be ground up later that will be add to make our Wine-Oh soap next week.
Today is all about getting a base down for that batch and the cherry batch. Olive oil has moderate conditioning properties and creates a very hard soap. Coconut oil on the other hand is very low on the conditioning scale and is also high on the hardness scale. They should balance well meaning the end product should leave your hands clean but not strip them too much of their natural oils. If this turns out well it may be our base for two different batches. I also choose these oils because they should create the whitest base for the cherry and grape colors to really show through. We want the crushed cherry to make a really pinkish red color while the grape we'd ideally want to be as purple as possible so the two look different. That is also why we used the dark "black grapes".

Mar 12, 2010

Golden Blonde Soap cut today...


It's softer then Olive Bar from Batch#1 but not a wreck like Batch#2:) This Batch#3 is also my 1st attempt at my own recipe.
It lathers really fast and rinses super clean from the skin just as fast! Also unlike Batch#2 it has a really hot golden blonde color that rocks and leaves no smell behind... LOVE IT!

Changes...
If we add some Washington Island Wheat it will get a texture without compromising the color.
If we take out one of the oils that makes the bar soft we'll have a harder overall bar that will last longer.

Mar 10, 2010

Batch#2 Update


So Batch#2 didn't solidify in the molds and we had to scoop it out and form it by hand. It still works as soap but we haven't figured out why it was so clay-like in the mold. We know the palm oil was to blame for the color... as you can see it is not the same color as my coffee:( I moved the other mold to the freezer so maybe it will solidify in the mold if we can get it to freeze.

Batch#3 seems to be doing well and has a much better color (a lot less palm oil) we'll find out tomorrow I guess. Plus were partially done with the cutting board were constructing check out our awesome blueprint for it!

Batch#3


Saponifying our next base in the kitchen this afternoon. We're experimenting with a olive, coconut, canola, palm & soybean oil mixture this time. It's a bright golden color right now (almost the same color as the walls). This should be a pretty hard soap with a good lather and also condition moderately. Since Batch#2 was soft as clay we had to scoop it out of the mold and form it into balls to use at home... well now we know. Hopefully this batch is hard enough to get out of the molds in 1 piece and have a great color!

Espresso Buzz


So we were going to make cherry but didn't take into account the orange color the palm oil would make it so we tried to counter act the orange with espresso instead thinking brown would be an easier color to achieve. Well here's what we got... not exactly what I had in mind:) Were gonna stick to basics for a while and get a color perfected before adding any "flavors" for a while.

Batch #3 saponifying in the kitchen now with olive, coconut, canola, palm & soybean oil...

Mar 8, 2010

Label change...


We changed the labels a few days ago to be more dynamic overall and avoid blending in with all the rest of the soaps on the shelf. Our printer is low on ink so the color is off but this is the idea for the packaging now. Were going to print this look on round stickers on either side of the soap. I already made sure they stay stuck on well but peel off easily when needed. Should work great now we just need to go buy the stickers and more ink!

More pages for our Website


Today I worked on designing the Products, Retailers and Contacts pages for the website. Shaun taught himself some more HTML skills and after an hour or 3 of trials and lots of errors my right sided brain and his left joined it was a miracle!

I think we have the overall look down now and he can start to get things linked and up and running.

Cutting OLIVE BAR


This morning we cut down the Olive Bar and found that with our molds about 1 inch sections are 4oz. We also found that to be more accurate we need to build a cutter. More on that later... but we did take a trip to Home Depot to find these yellow plastic caps for the ends of our PCV pipe molds that will work much better then wax paper and rubber bands:)

We also found this rubber piece that is supposed to be used in toilet tanks and a metal dowel that when combined make a nice tamper! Very lucky we found pieces that were so exact in size! Now next time our soap should be smoother around the edges without air pockets.